











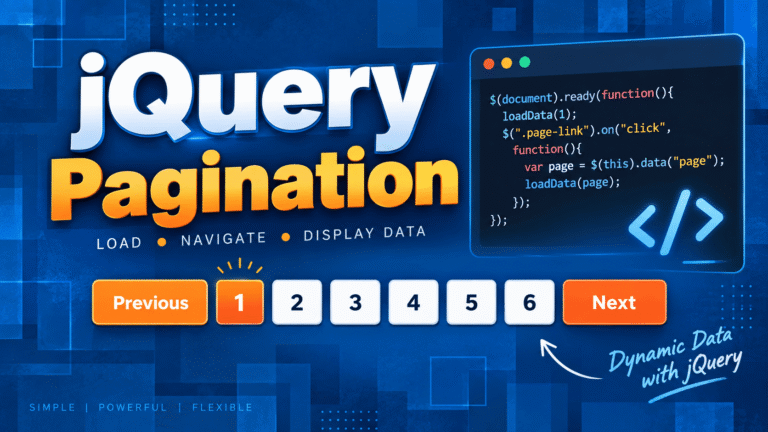
Learn jQuery Pagination with a simple working example. Build Previous, Next and page-number navigation using jQuery, HTML and CSS with clean copy-ready code.
jQuery Pagination: A Simple Way to Split Long Content
jQuery Pagination is a practical way to divide a long list of records into smaller pages without making the interface feel crowded. Instead of showing every item at once, the user sees a limited number of items and can move between pages using Previous, Next and numbered buttons.
In this tutorial, we recreate the pagination example shown in the tutorial video. The demo contains 30 simple items and displays five items at a time. This creates six pages and makes it easy to understand how the navigation changes when the current page changes.
The example is intentionally simple. It does not require a complicated framework or database connection. You can later adapt the same idea for products, blog posts, search results, employee records, categories or other lists.
How the jQuery Pagination Example Works
The HTML contains all of the content items inside one container. The pagination script counts those items, calculates the total number of pages and hides everything except the items belonging to the selected page.
The configuration follows the API visible in the tutorial:
items: 5,
contents: 'contents',
previous: 'Previous',
next: 'Next',
position: 'bottom'
The items option determines how many records appear on each page. In this example, five records are displayed at a time.
The previous and next options control the navigation labels, while position determines where the pagination navigation is displayed.
The result is a simple navigation bar below the content.
1. index.html
The HTML file creates the page, loads jQuery, loads the pagination script and initializes the component.
<!DOCTYPE html>
<html lang="en">
<head>
<meta charset="utf-8">
<title>jQuery Pagination</title>

<link href="css/pagination.css" rel="stylesheet">

<script src="https://ajax.googleapis.com/ajax/libs/jquery/3.2.1/jquery.min.js"></script>
<script src="js/pagination.js"></script>

<script>
$(document).ready(function(){

    $("#tab").pagination({
        items: 5,
        contents: 'contents',
        previous: 'Previous',
        next: 'Next',
        position: 'bottom'
    });

});
</script>
</head>

<body>

<h1>jQuery Pagination</h1>

<div id="wrapper">

    <div id="tab" class="contents">

        <div>This Is Number 1</div>
        <div>This Is Number 2</div>
        <div>This Is Number 3</div>
        <div>This Is Number 4</div>
        <div>This Is Number 5</div>
        <div>This Is Number 6</div>
        <div>This Is Number 7</div>
        <div>This Is Number 8</div>
        <div>This Is Number 9</div>
        <div>This Is Number 10</div>
        <div>This Is Number 11</div>
        <div>This Is Number 12</div>
        <div>This Is Number 13</div>
        <div>This Is Number 14</div>
        <div>This Is Number 15</div>
        <div>This Is Number 16</div>
        <div>This Is Number 17</div>
        <div>This Is Number 18</div>
        <div>This Is Number 19</div>
        <div>This Is Number 20</div>
        <div>This Is Number 21</div>
        <div>This Is Number 22</div>
        <div>This Is Number 23</div>
        <div>This Is Number 24</div>
        <div>This Is Number 25</div>
        <div>This Is Number 26</div>
        <div>This Is Number 27</div>
        <div>This Is Number 28</div>
        <div>This Is Number 29</div>
        <div>This Is Number 30</div>

    </div>

</div>

</body>
</html>
The important part is the #tab element. The pagination script uses its child elements as the records that need to be divided into pages.
2. css/pagination.css
The CSS controls the pagination buttons, spacing, hover effect and active page.
#page-nav1 {
    width:50%;
    margin:0px auto;
    margin-bottom:10px;
    padding:0px;
    overflow:hidden;
}

#page-nav1 li {
    list-style:none;
    display:inline;
}

#page-nav1 li a {
    float:left;
    display:block;
    padding:8px 10px;
    margin-right:10px;
    border:1px solid #ccc;
    text-decoration:none;
    background:#fff;

    -webkit-transition:background 200ms linear;
    transition:background 200ms linear;

    border-radius:0px;
    color:#000;
}

#page-nav1 li:last-child a {
    margin-right:0px;
}

#page-nav1 li a.current,
#page-nav1 li a.disable,
#page-nav1 li a:hover {
    background:tomato;
    color:#fff;
    border-bottom:3px solid #fff;
}
The .current class identifies the currently selected page. The .disable class is used when Previous or Next cannot be used.
3. js/pagination.js
The JavaScript handles the actual pagination logic.
(function($){

    $.fn.pagination = function(options){

        var settings = $.extend({

            items: 10,
            contents: 'contents',
            previous: 'Previous',
            next: 'Next',
            position: 'bottom'

        }, options);

        return this.each(function(){

            var $container = $(this);
            var $items = $container.children();

            var perPage = parseInt(settings.items, 10) || 10;

            var totalPages =
                Math.max(1, Math.ceil($items.length / perPage));

            var currentPage = 1;

            function showPage(page){

                currentPage =
                    Math.max(1, Math.min(page, totalPages));

                var start =
                    (currentPage - 1) * perPage;

                var end = start + perPage;

                $items.hide()
                      .slice(start, end)
                      .show();

                renderNav();
            }

            function renderNav(){

                var $old =
                    $container.siblings('#page-nav1');

                $old.remove();

                var $nav =
                    $('<ul id="page-nav1"></ul>');

                var $prev =
                    $('<li><a href="#">'
                    + settings.previous
                    + '</a></li>');

                $prev.find('a').on('click', function(e){

                    e.preventDefault();

                    if(currentPage > 1){
                        showPage(currentPage - 1);
                    }

                });

                if(currentPage === 1){
                    $prev.find('a')
                         .addClass('disable');
                }

                $nav.append($prev);

                for(var i = 1; i <= totalPages; i++){

                    (function(page){

                        var $link =
                            $('<li><a href="#">'
                            + page
                            + '</a></li>');

                        if(page === currentPage){

                            $link.find('a')
                                 .addClass('current');

                        }

                        $link.find('a').on('click', function(e){

                            e.preventDefault();

                            showPage(page);

                        });

                        $nav.append($link);

                    })(i);
                }

                var $next =
                    $('<li><a href="#">'
                    + settings.next
                    + '</a></li>');

                $next.find('a').on('click', function(e){

                    e.preventDefault();

                    if(currentPage < totalPages){

                        showPage(currentPage + 1);

                    }

                });

                if(currentPage === totalPages){

                    $next.find('a')
                         .addClass('disable');

                }

                $nav.append($next);

                if(settings.position === 'top'){

                    $container.before($nav);

                }else{

                    $container.after($nav);

                }

            }

            showPage(1);

        });

    };

})(jQuery);
This separates the pagination logic from the page markup, so the same component can be reused for another list.
Using jQuery Pagination with Real Data
The example uses static HTML, but the same concept can be connected to a PHP application.
For example, a PHP project can retrieve records from MySQL using mysqli, generate the HTML and then apply the pagination functionality.
For a small list, client-side pagination is convenient because the records are already available in the browser.
For a very large database, however, loading thousands of records into the browser is not ideal. In that situation, server-side pagination can be used. PHP can request only the required records using SQL LIMIT and OFFSET, while AJAX can update the result area without refreshing the complete page.
That makes the technique useful beyond this simple example.
You could replace the sample text with:
- Product cards
- Blog posts
- Employee records
- Search results
- Customer records
- News articles
- Gallery items
- Category listings
The basic pagination idea remains the same.
Watch the jQuery Pagination Tutorial
jQuery Pagination TutorialFollow the video step-by-step and build the pagination example yourself.
Useful Resources
For the official jQuery documentation, use jQuery and the jQuery AP documentation.
For CSS reference material, MDN CSS documentation is also useful.
For internal SEO links, add relevant pages from your own website, for example:
Final Thoughts
This jQuery Pagination example is deliberately simple so that the underlying logic is easy to understand.
The main idea is straightforward: count the records, calculate the number of pages, hide the records that do not belong to the selected page and update the navigation whenever the user changes pages.
Once you understand that flow, you can adapt it to much more realistic interfaces.
The complete working source is included in the ZIP package, including the HTML, CSS, JavaScript, background asset and WordPress-ready article.
